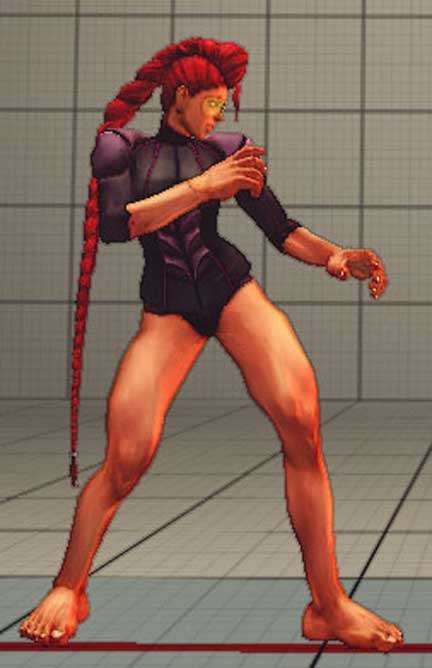
Okay, this is a bit of a change from my usual posts, as I get a bit technical here. It's actually not about barefoot babes per se, but it will impact quality of many of my future videos. It's a nice little trick I learned from this cool blog.
As you all know, I do edit my vids and add effects quite often- and slow-motion is perhaps my most-used effect. All this time though, I’ve had to make do with the rather sub-standard results of the old iMovie HD6. I’ve had to use this simply because Apple removed most effects, slow-motion included, from the new iMovie (like, WTH?). All this time though I’ve never really been satisfied with the slow-mo; it’s got a strobe-like effect which is just not as smooth as I’d like. To get the smoother results I want, I’d probably have to get a better and probably more expensive editing software suite… that is, until I found out about this neat trick.
If you have QuickTime Pro, you’ll probably be aware that you can adjust playback speeds with the A/V Controls under the ‘Windows’ menu (up to 50% slower playback). The problem with this is that this is just a playback speed change that doesn’t actually make your clip longer or shorter; once you import the vid into your editing software it reverts back to the normal playspeed. If only there was a way to make that slower playspeed permanent! Well, there is, actually, and all you need is QT Pro and some bits of cutting and pasting.
How to get slow-motion (50%) with QuickTime Pro (that’s PRO, okay. So if you’ve just got plain, Vanilla QT, this won’t work).
1. Have your 'Source' clip (the part you want slowed down) ready. Create a new empty movie ('New Player') under the 'File' menu.
2. With your Source clip, press Ctrl + A (Select All), then Ctrl + C (Copy).
3. Switch to the New Player, then Ctrl + V (Paste) twice. This gives you a movie double the length of your original Source clip.
4. In the new player go to the 'Windows' menu and go to 'Show Movie Properties'. Select 'Video Track' and delete.
5. Now switch back to the Source Clip and press Ctrl + C (Copy) again.
6. Switch back to the new player and this time from the Edit menu select “Add to selection & scale”. This will stretch your pasted movie to the length of the new player, doubling the duration and thus making it slow-mo. Save your new movie and it's ready for editing!
So you may ask, does this trick make a difference from the in-built slow-mo effect in iMovie HD6? Well, check the clips I’ve posted below to see the difference… I’m sure you can see the quality of the QTP slow-mo is noticeably smoother and therefore better!
I’ll be incorporating this trick with all my upcoming and future videos, and I just may (being the anal arse that I am) redo many of my KO ryona with the improved effect. Bottom-line, this should make my vids a lot nicer and all our barefoot babes easier to appreciate. Ain’t that nice? Okay, enough tech stuff. Back to game playing and babe ogling then!
Jennifer Shope
7 years ago


